We’ve had several clients contact us with questions about the best way to handle announcements, event cancellations, and blocking reservations as a result of precautionary measures being taken to protect staff and patrons from COVID-19. We wanted to compile some useful information for you in case your library needs to make these kinds of changes.

Announcements
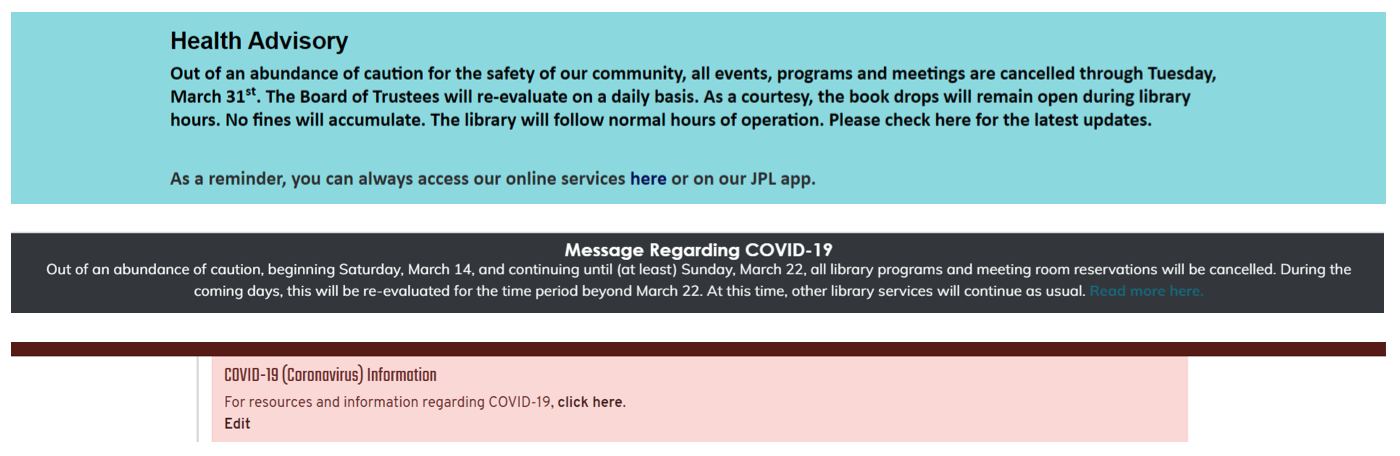
Place an announcement at the top of your calendar to alert users to overall changes you’ve needed to make in your system.
How to Add (generally restricted to staffadmin users only):
- Navigate to Content > Add Content > Announcement
- Add a title in the Title field
- Write your announcement message in the Body field
- Set a Start Date that is in the past in order to have it display immediately
- Set an End Date (you can update this later if you need to extend the announcement period)
- Check all options in the Library Branch field
- Set an Announcement Level, if applicable (not all systems use this feature)
- Click the Save button
Tips for effective announcements:
- Use a title that identifies the announcement’s purpose such as “Important Notice Regarding Coronavirus/COVID-19”
- Keep your message brief
- Link to any additional information available on your library website and/or governing bodies
If you create an announcement and do not see it appear on your calendar, please contact Support.
Cancelling an Individual Event
If your library has decided to cancel programs for the immediate future, you can use the Event State feature to mark programs as cancelled. You can set this value on any Edit page for an individual event. You can cancel an entire series from Edit Series, or use Edit for individual instances within a series.
How to Cancel an Event (generally restricted to those who can otherwise edit events):
- Navigate to the event’s detail page from a calendar view or report
- Click the Edit button
- Locate the Event State field inside the Administrative Settings section
- Set this field from “-None-” to “Cancelled”
- IF your program has people registered, those registrants will receive a cancellation notice once you save the event as Cancelled. An additional field called Cancellation Message will appear on the edit form once you set a program with registrants to “Cancelled”; use this to list a specific reason for cancelling the event that will appear above the “Thank you” line in the cancellation email.
- Click the Save button at the bottom of the page
Cancelled programs will appear with a red “Cancelled” label on their detail page and on the calendar views (unless you have opted to hide them in Calendar Settings).
Cancelling Events in Bulk
We recommend following the above procedure for any registration events with people already registered. For non-registration events, it may be quicker to cancel those in bulk through reports.
How to Cancel in Bulk (generally limited to staffadmins):
- Go to Library Calendar > Reports > Events
- Set the Event State filter to “Not Cancelled”
- Assuming you wish to keep internal meetings, set the Private Event filter to “False”
- Use the Event Starts On or After and Event Starts On or Before to define a date range for programs; remember that you can use static dates (such as “Mar 12” and “Mar 19”) or relative terms (such as “today” and “+1 week”)
- Set the Enable Registration filter to “False”
- Set other filters as needed
- Click the Apply button at the bottom of the filter
- Once you have a report list of programs that need to be cancelled, use the checkbox next to the Title column in the table to select all results
- If your report has more than one page of results, scroll to the right until you see the Select all x results in this view button under the table column headers and click it
- Set the Action dropdown at the top of the table to “Edit Content” and click the Apply to selected items button
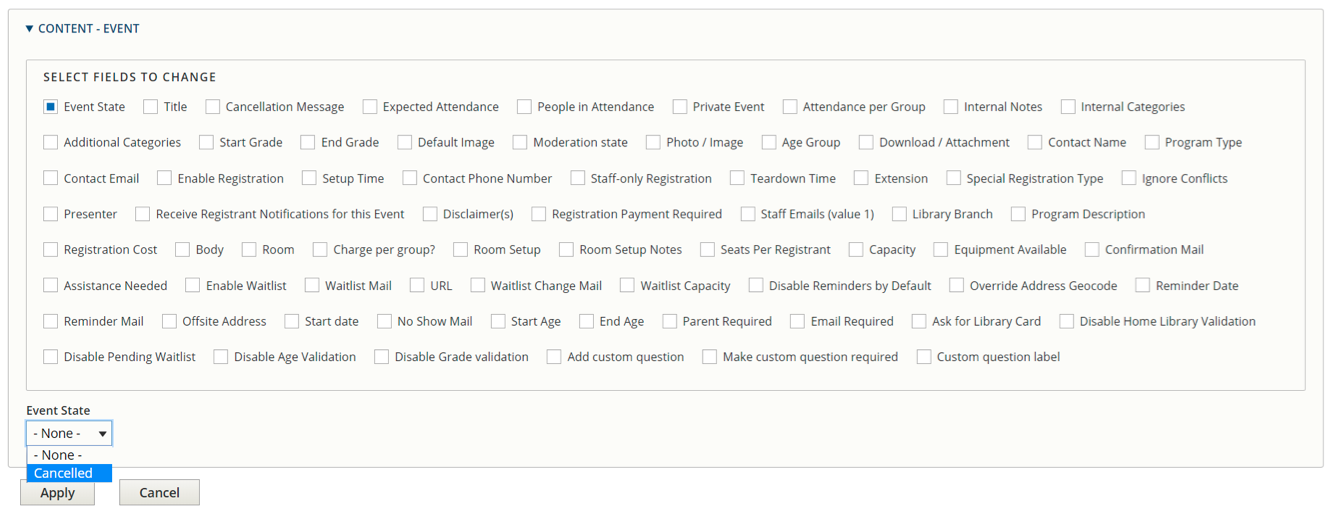
- On the next page, select the checkbox next to Event State
- This opens the field below; set it to “Cancelled”
- Click the Apply button
Depending on the number of records selected, the bulk update may take a few minutes.
Cancelling Reservations
There are a couple of ways you can cancel reservations, but we recommend using the Edit page so you can let the person who requested the room know the specific reason in this case.
Cancelling a Reservation:
- Navigate to the reservation from the calendar or a report
- Click the Edit button
- Set the Reservation State field to “Cancelled”
- A new field called Notification Message will appear; use this to add custom text to the default cancellation email to let the requester know why you’ve changed the status
- Click the Save button
Preventing New Reservations
If you need to put a temporary stop to room reservations, there are several ways to do so; the best method will depend on how you have your locations and reservation rules configured.
Method 1
Create one private event or reservation in each public room for the entire period you anticipate them being closed (keeping in mind that you can edit the end date to extend the block later if needed).
Method 2
Edit the room taxonomy for each public room and uncheck the Public checkbox. This will allow no public reservations in the room or access to the room’s detail page until you edit the room again to re-enable that setting.
Method 3
Edit the Minimum Reservation Time setting. Keep in mind that these rules cascade: they can be set at the system level on Reservation Settings or at the room type, branch, or room level on those associated taxonomy pages. The system will use the most specific rule available for each room. Use a static date expression such as “March 19, 2020” to only allow new requests beyond that date. You can extend that date by editing the field later, and you will need to remember to remove/replace that setting when you are ready to open your rooms for regular use again.
Method 4
Edit the Room Availability Hours settings at the room or branch level (these cascade as well, so the system will use the branch set unless a room set has been provided). You can leave the standard hours alone, but set a date range for the Alternate Hours that matches when the room will be closed (you can edit that later if need be). Leave the hours blank--the combination of a date range with no hours set marks the room as completely closed.
Closing the Library
While we fervently hope that none of our client libraries have to close entirely due to the COVID-19 pandemic, we also know that it may be inevitable at this point. If you do need to close one or more locations, you can create a multi-day closing. This will show an official closing entry on the calendar, block any new events or reservations during the closing, and flag any existing events or reservations that need to be cancelled.
Creating a Closing:
- Navigate to Library Calendar > Content > Create Closing
- Add a title
- Set the Closing Date field; remember you can use All Day to set a closing with only dates (otherwise, you will need to outline specific hours as well)
- Select which locations are closing from the Library Branch field
- Add a description to the Body field
- Click the Save button
- Once you have saved, an alert will appear if the system detects any events or reservations during the closing period that need to be reviewed; click the link for each entry to edit
As always, if you have any questions for us, please send an email Support to open a support ticket.